 +86 21 51096910
 sales@welsobio.com / marketing@welsobio.com




+86 21 51096910
sales@welsobio.com / marketing@welsobio.com
Proper centrifuge installation and commissioning are essential for safe operation, stable performance, and reliable sample separation. Before using a laboratory centrifuge, users should verify the installation environment, power supply, rotor condition, and safety systems in accordance with the manufacturer's instructions.
This guide explains how to install and commission a Welso centrifuge, covering environmental requirements, installation procedures, initial operating tests, load testing, and essential safety precautions. It is intended to help laboratory personnel establish a consistent and safe equipment setup process.
1. Centrifuge Installation Requirements
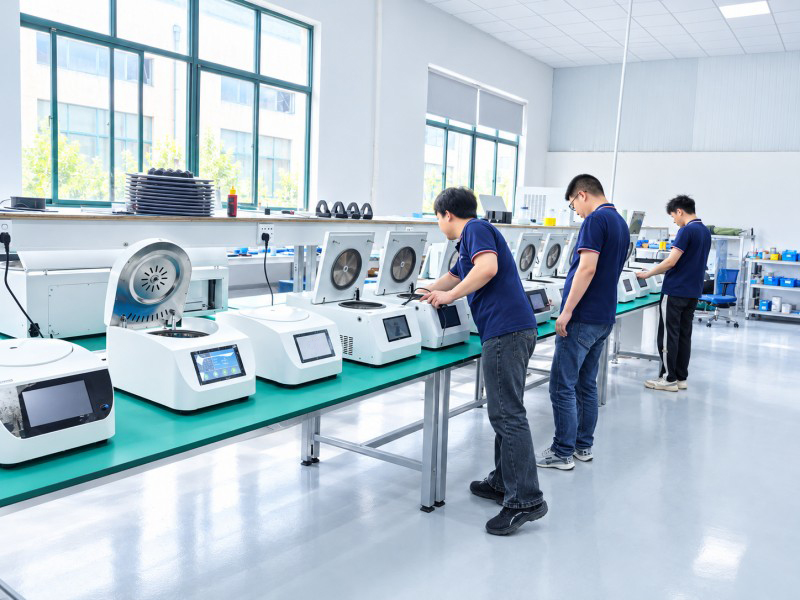
A suitable installation environment helps minimize external vibration, reduce electrical hazards, and support stable centrifuge operation. Before installation, check the technical specifications and operating instructions for the specific centrifuge model.
1.1 Environmental Temperature and Humidity
For applicable Welso centrifuge models, the recommended operating temperature is 10°C to 35°C, with a relative humidity of 80% or lower. Always refer to the model-specific manual for the exact environmental requirements.
The installation area should be clean, dry, and suitable for laboratory equipment. Observe the following precautions:
▶ Avoid direct sunlight and excessively humid environments.
▶ Keep the centrifuge away from equipment that generates excessive heat or strong vibration.
▶ Do not install the instrument near flammable or explosive materials, corrosive gases, or substances that may generate hazardous gases during chemical reactions.
▶ Avoid locations exposed to oil contamination, excessive dust, or metal particles.
▶ Allow sufficient space around the centrifuge for routine operation, lid opening, inspection, and maintenance.
1.2 Power Supply and Grounding
Connect the centrifuge to a power supply that meets the requirements of the specific model. Proper electrical grounding is essential for reducing the risk of electric shock and electrical faults.
For models specified to operate on a 220 V, 50 Hz, 10 A power supply, the instruction manual specifies a conductor cross-sectional area of at least 2 mm² and an electrical outlet rated for at least 10 A. Verify these specifications against the instrument nameplate and the applicable technical documentation before connecting the equipment.
The power switch and electrical disconnecting device must also remain readily accessible so that power can be isolated promptly when necessary.
1.3 Workbench and Leveling Requirements
Install the centrifuge on a firm, level workbench capable of supporting the instrument and its operating load. All four feet should make stable, even contact with the work surface to minimize vibration during operation.
Check that the instrument is level and does not rock. Do not use loose objects to compensate for an uneven workbench. If the surface is unstable or noticeably inclined, correct the installation conditions before proceeding with commissioning.
2. Welso Centrifuge Installation Procedure
The installation process includes packaging inspection, positioning, power connection, rotor inspection, and accessory verification.
Step 1: Inspect the Packaging and Shipping Condition
Before accepting delivery, inspect the packaging for visible damage, moisture, or signs of impact. If any damage is found, take photographs, request written documentation from the carrier, and notify the supplier promptly.
Carefully unpack the centrifuge and handle the instrument according to the manufacturer's instructions to prevent damage during removal and positioning.
Step 2: Position and Level the Centrifuge
Place the centrifuge on the prepared workbench and ensure that all four feet rest evenly on the surface. Confirm that the instrument is stable and does not rock.
Choose a location that allows convenient access to the control panel, lid, and maintenance areas while minimizing interference from vibration generated by nearby equipment.
Step 3: Connect the Power Supply and Check the Control System
Verify the supply voltage, frequency, current rating, and grounding requirements before connecting the centrifuge to power.
Switch on the instrument and check whether the control panel illuminates and the operating interface functions normally. Check for error messages or abnormal indications before proceeding.
If electrical faults, unusual displays, or control-system errors are detected, stop the installation process and contact qualified technical personnel.
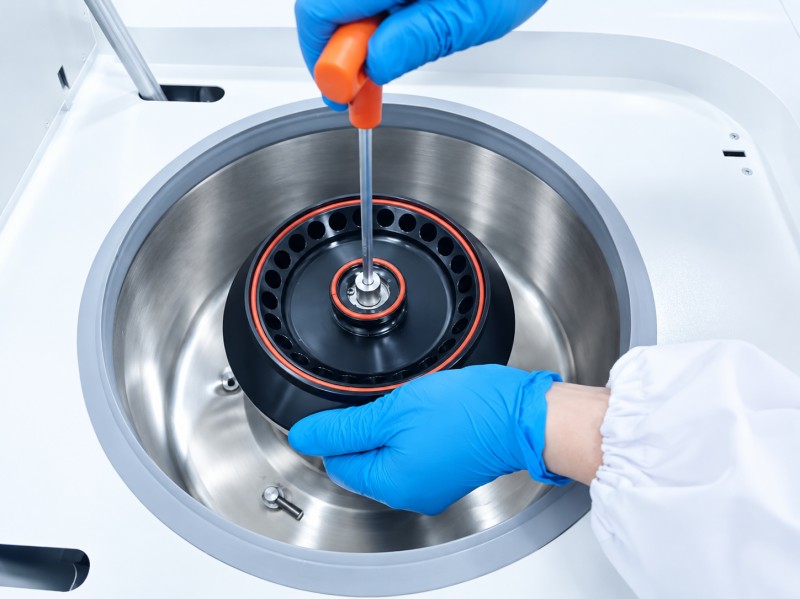
Step 4: Inspect the Centrifuge Chamber, Rotor, and Accessories
Open the centrifuge lid according to the operating instructions. Remove any packaging foam or foreign objects from the centrifuge chamber and confirm that the chamber is clean.
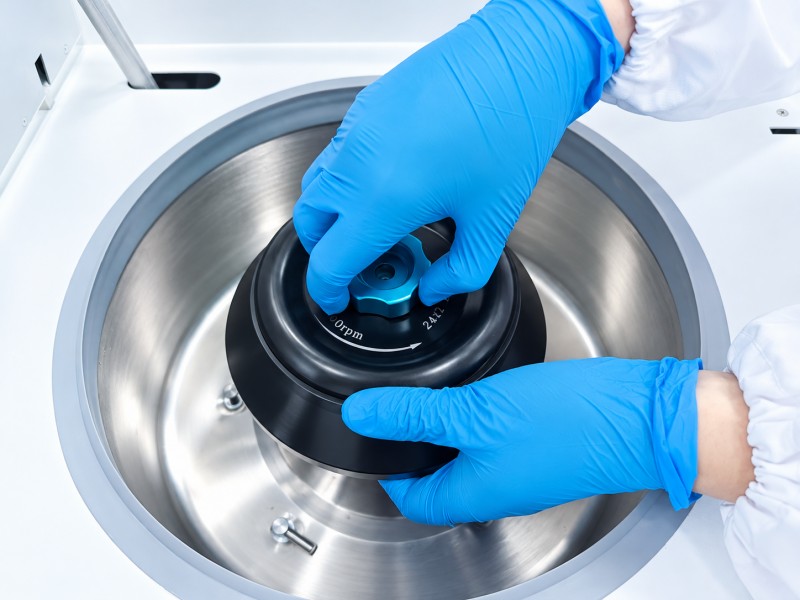
Inspect the rotor, buckets, adapters, and other supplied accessories for damage, corrosion, deformation, or missing components. Ensure that the rotor is compatible with the centrifuge and is installed and secured correctly.
Important: Never operate the centrifuge with a damaged, incorrectly installed, or unsecured rotor. Do not bypass the lid interlock or other safety mechanisms.
Step 5: Verify the Packing List
Compare the supplied items with the packing list, including the main unit, rotor and compatible accessories, tools, and technical documentation.
Report any missing or damaged components to the supplier before placing the instrument into service.
Once these checks are complete, proceed with the initial operating tests specified for the relevant centrifuge model.
3. Centrifuge Commissioning and Initial Operating Tests
Centrifuge commissioning verifies that the instrument has been installed correctly and operates within the specified limits. Testing must follow the manufacturer's procedures and take into account the rated speed, load capacity, and operating restrictions of the centrifuge and rotor.
3.1 Pre-Commissioning Safety Checks
Before starting the centrifuge, confirm that:
▶ The instrument is stable, level, and securely positioned.
▶ The rotor is correctly installed and securely fastened.
▶ The centrifuge chamber is clean and free of foreign objects.
▶ The lid-locking system and control panel function normally.
▶ The rotor, buckets, adapters, and sample containers are compatible with the intended application.
▶ The selected test speed and load are within the permitted operating limits.
Proceed only after all required checks have been completed.
3.2 No-Load Operation Test
If no-load operation is permitted by the manufacturer, perform an initial test according to the model-specific commissioning procedure.
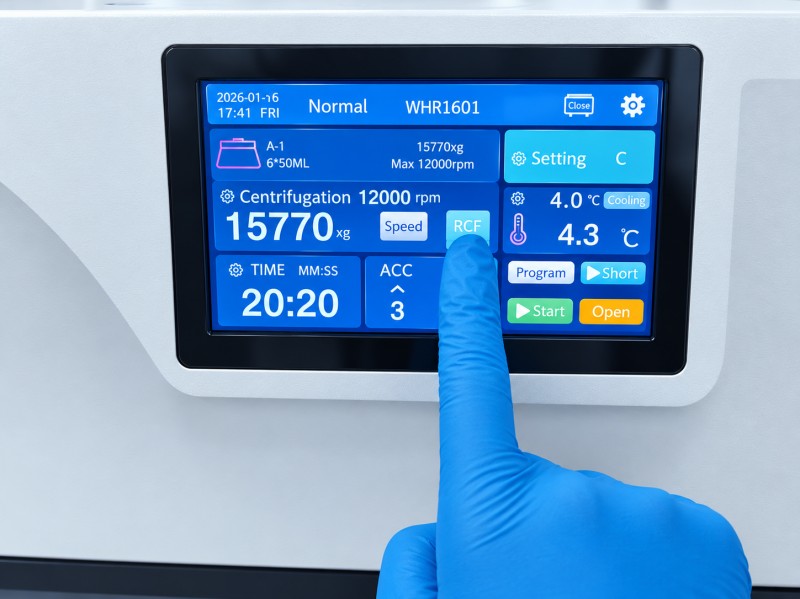
The Welso instructions describe beginning at 500 rpm and checking for abnormal vibration, unusual noise, or unstable operation.
If the instrument operates normally, increase the speed in stages where permitted. For example, the test may progress from 500 rpm to 1,000 rpm, followed by increments of 500 rpm, provided these settings are appropriate for the specific model and rotor.
Observe the instrument at each stage and remain within all specified operating limits.
The exact test range, speed increments, and maximum test speed must be confirmed in the applicable manual. Do not assume that every centrifuge must be operated at the rotor's maximum rated speed during initial commissioning.
If abnormal vibration, unusual noise, an error message, or any other unexpected condition occurs, stop the test and wait until the rotor has come to a complete standstill before inspecting the instrument.
3.3 Loaded Operation Test
After the no-load test has been completed successfully, perform a loaded test if required by the manufacturer's commissioning procedure.
Use an approved test load and follow the specified rotor-loading instructions. Pay particular attention to the following requirements:
▶ Arrange opposing tubes or buckets symmetrically and balance them according to the rotor manufacturer's specifications.
▶ Ensure that the mass difference between opposing loads remains within the permitted tolerance.
▶ Never exceed the rated load of the centrifuge, rotor, buckets, or adapters.
▶ Increase the speed in controlled stages only when required and permitted by the applicable test procedure.
▶ Monitor vibration, noise, operating stability, and instrument alarms throughout the test.
The initial commissioning process may be considered satisfactory when all required tests are completed without abnormal vibration, unusual noise, unstable operation, or safety-system errors, subject to the manufacturer's acceptance criteria.
Safety note: If an abnormal condition occurs, stop the centrifuge immediately. Do not open the lid or touch the rotor until it has come to a complete standstill.
4. Common Questions About Centrifuge Installation and Commissioning
4.1 Why Is Leveling Important When Installing a Centrifuge?
An uneven workbench or unstable instrument position can contribute to vibration and interfere with stable operation. Proper leveling and even contact between all four feet and the workbench help reduce these risks.
4.2 Why Should the Rotor Be Inspected Before Operation?
The rotor's structural integrity, installation, and fastening directly affect operating safety. A damaged, loose, or incorrectly installed rotor may cause excessive vibration and equipment damage. Inspect the rotor and its accessories before each run in accordance with the operating instructions.
4.3 Must a Centrifuge Be Tested at Its Maximum Speed During Commissioning?
Not necessarily. The appropriate commissioning speed depends on the centrifuge model, rotor rating, and manufacturer's test procedure. Operating at the maximum rated speed should not be treated as a universal requirement for every centrifuge installation.
Never exceed the permitted speed of the rotor or any installed accessory.
4.4 What Should You Do If a Centrifuge Vibrates Abnormally?
Stop the centrifuge and wait until the rotor has come to a complete standstill. Then check the instrument's stability, rotor installation, and load balance in accordance with the manufacturer's instructions.
Do not resume operation until the cause has been identified and the instrument is confirmed to be safe. Contact qualified technical personnel if the problem cannot be resolved through the approved troubleshooting procedure.
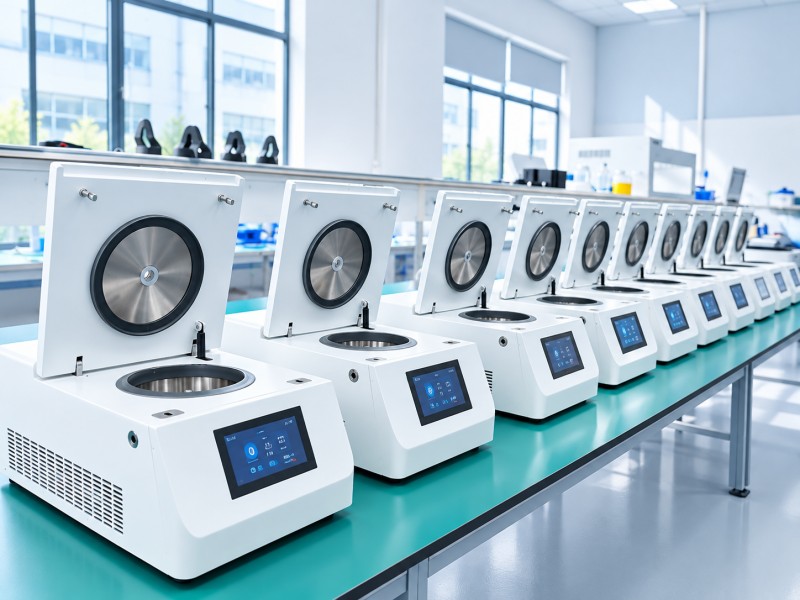
5. Welso: Centrifuge Solutions for Laboratories Worldwide
Welso specializes in laboratory centrifuges and related laboratory equipment, providing a range of centrifuge solutions for laboratories worldwide. With options designed for different sample preparation requirements, processing capacities, speed ranges, and laboratory workflows, Welso helps users identify equipment suited to their applications.
From routine sample separation to specialized laboratory processing, Welso focuses on equipment performance, operational convenience, and safe use. The company also supports customers with product consultation, technical guidance, and related services.
When selecting a laboratory centrifuge, users should consider more than speed and capacity. Rotor compatibility, sample characteristics, workload, and intended applications are also important factors.
Welso is committed to supporting research, clinical, and industrial laboratories with practical centrifuge solutions and helping laboratory professionals find equipment that meets their operational needs.

Subscribe to our Newsletter & Event right now to updated.



+86 21 51096910

sales@welsobio.com
marketing@welsobio.com

1-1009, National Industrial Design Park, No. 599 Jianzhu Road, Binhu, Wuxi , Jiangsu, China, 214062

Head Office: No. 439 Jinglian Road, Minhang District, Shanghai,China, 201108